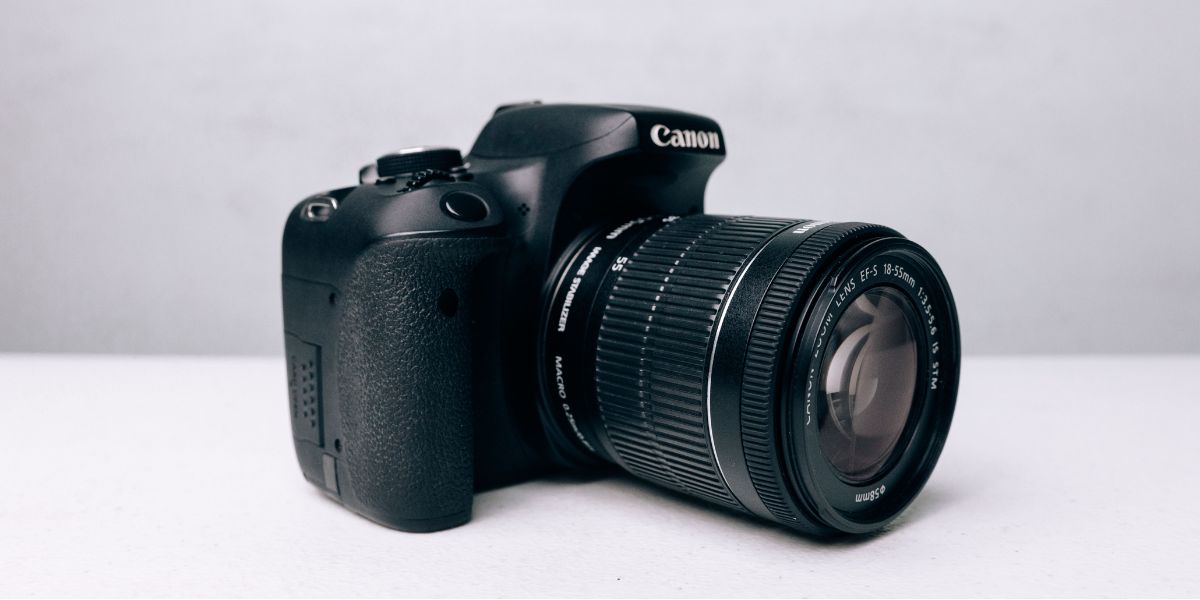
When capturing portraits, you want to ensure your camera settings are optimized to bring out the best in your subjects. From adjusting the aperture to mastering shutter speed and fine-tuning focus, each setting plays a crucial role in shaping your portraits. But which settings are truly the best for capturing those captivating moments frozen in time? Let's explore the intricacies of camera settings for portraits and how they can elevate your photography to new heights.
Understanding Aperture for Portraits
When capturing portraits, adjusting the aperture setting on your camera determines how much light enters the lens. Aperture is measured in f-stops, with lower f-stop numbers like f/1.8 allowing more light and creating a shallower depth of field, perfect for those dreamy, blurred backgrounds that make your subject pop. Higher f-stop numbers like f/8 or f/11 let in less light and result in sharper backgrounds, ideal for group shots or landscapes where you want everything in focus.
Choosing the right aperture for your portraits is crucial. For solo portraits, a wide aperture (low f-stop) like f/2.8 or lower can create a beautiful bokeh effect, drawing attention to your subject. In contrast, for group photos or environmental portraits, a narrower aperture (higher f-stop) like f/5.6 to f/11 ensures everyone and everything in the frame stays sharp and in focus.
Experiment with different aperture settings to see how they impact your portraits and get creative with your depth of field to capture stunning images that truly stand out.
Mastering Shutter Speed Techniques
To enhance your portrait photography skills, mastering shutter speed techniques is essential for capturing sharp and dynamic images. Shutter speed refers to the amount of time your camera's shutter is open to allow light in and capture an image. When it comes to portraits, the right shutter speed can make a significant difference in the final outcome of your photos.
A faster shutter speed, such as 1/250 or higher, is ideal for freezing motion and capturing sharp portraits, especially when your subject is moving or you want to avoid any blur. On the other hand, a slower shutter speed, like 1/60 or below, can introduce creative effects like motion blur, which can add a sense of movement and drama to your portraits.
Experimenting with different shutter speeds in various lighting conditions will help you understand how they can impact the look and feel of your portraits. Remember, mastering shutter speed techniques is about finding the right balance between freezing action and creating artistic effects in your portrait photography.
Optimizing ISO Settings for Portraits
Optimizing ISO settings for portraits requires understanding how sensitivity to light impacts the quality of your images. ISO determines your camera sensor's sensitivity to light. A lower ISO, such as 100 or 200, is ideal for well-lit environments to produce sharp and detailed portraits with minimal noise.
In low-light situations, consider increasing the ISO to 400-800 to capture sufficient light without compromising image quality. However, be cautious as higher ISO settings, like 1600 or above, can introduce digital noise, reducing image clarity.
When shooting portraits, aim for the lowest ISO possible while maintaining proper exposure. Modern cameras perform well at higher ISOs, but it's essential to find the balance between brightness and noise. Experiment with different ISO settings during your photoshoots to determine the optimal level for your specific lighting conditions.
Utilizing White Balance for Skin Tones
Understanding how white balance impacts skin tones is key to capturing accurate and natural-looking portraits. White balance refers to the color temperature of light in your photos, affecting how warm or cool the tones appear. When it comes to photographing portraits, achieving the right white balance is crucial for ensuring that skin tones look true to life.
For flattering skin tones, consider adjusting the white balance settings based on the lighting conditions. In daylight, the daylight setting can enhance warm tones, while cloudy settings can help neutralize cool tones. In indoor lighting, fluorescent settings can counteract greenish hues, and incandescent settings can add warmth. Experimenting with these settings will allow you to find the most suitable white balance for your portraits.
Remember that achieving accurate skin tones through white balance can elevate the overall quality of your portraits, making them more appealing and lifelike. Take the time to adjust your white balance settings to ensure that skin tones are represented authentically in your photographs.
Fine-Tuning Focus and Depth of Field
Consider adjusting your camera's focus and depth of field settings to capture striking portraits with precise details. When shooting portraits, the focus should ideally be on the subject's eyes, as they're the focal point of the image. Use single-point autofocus to ensure sharpness where it matters most.
Additionally, adjusting the aperture to control depth of field can make a significant difference in your portraits. A wider aperture, such as f/2.8 or lower, creates a shallow depth of field, resulting in a beautifully blurred background that helps the subject stand out. On the other hand, a narrower aperture, like f/8 or higher, increases the depth of field, keeping more of the scene in focus.
Experiment with different aperture settings to achieve the desired effect for your portraits. By fine-tuning your focus and depth of field, you can elevate your portrait photography and capture images that are both captivating and visually appealing.


